Showing posts with label Shimelle. Show all posts

Thursday, December 22, 2011

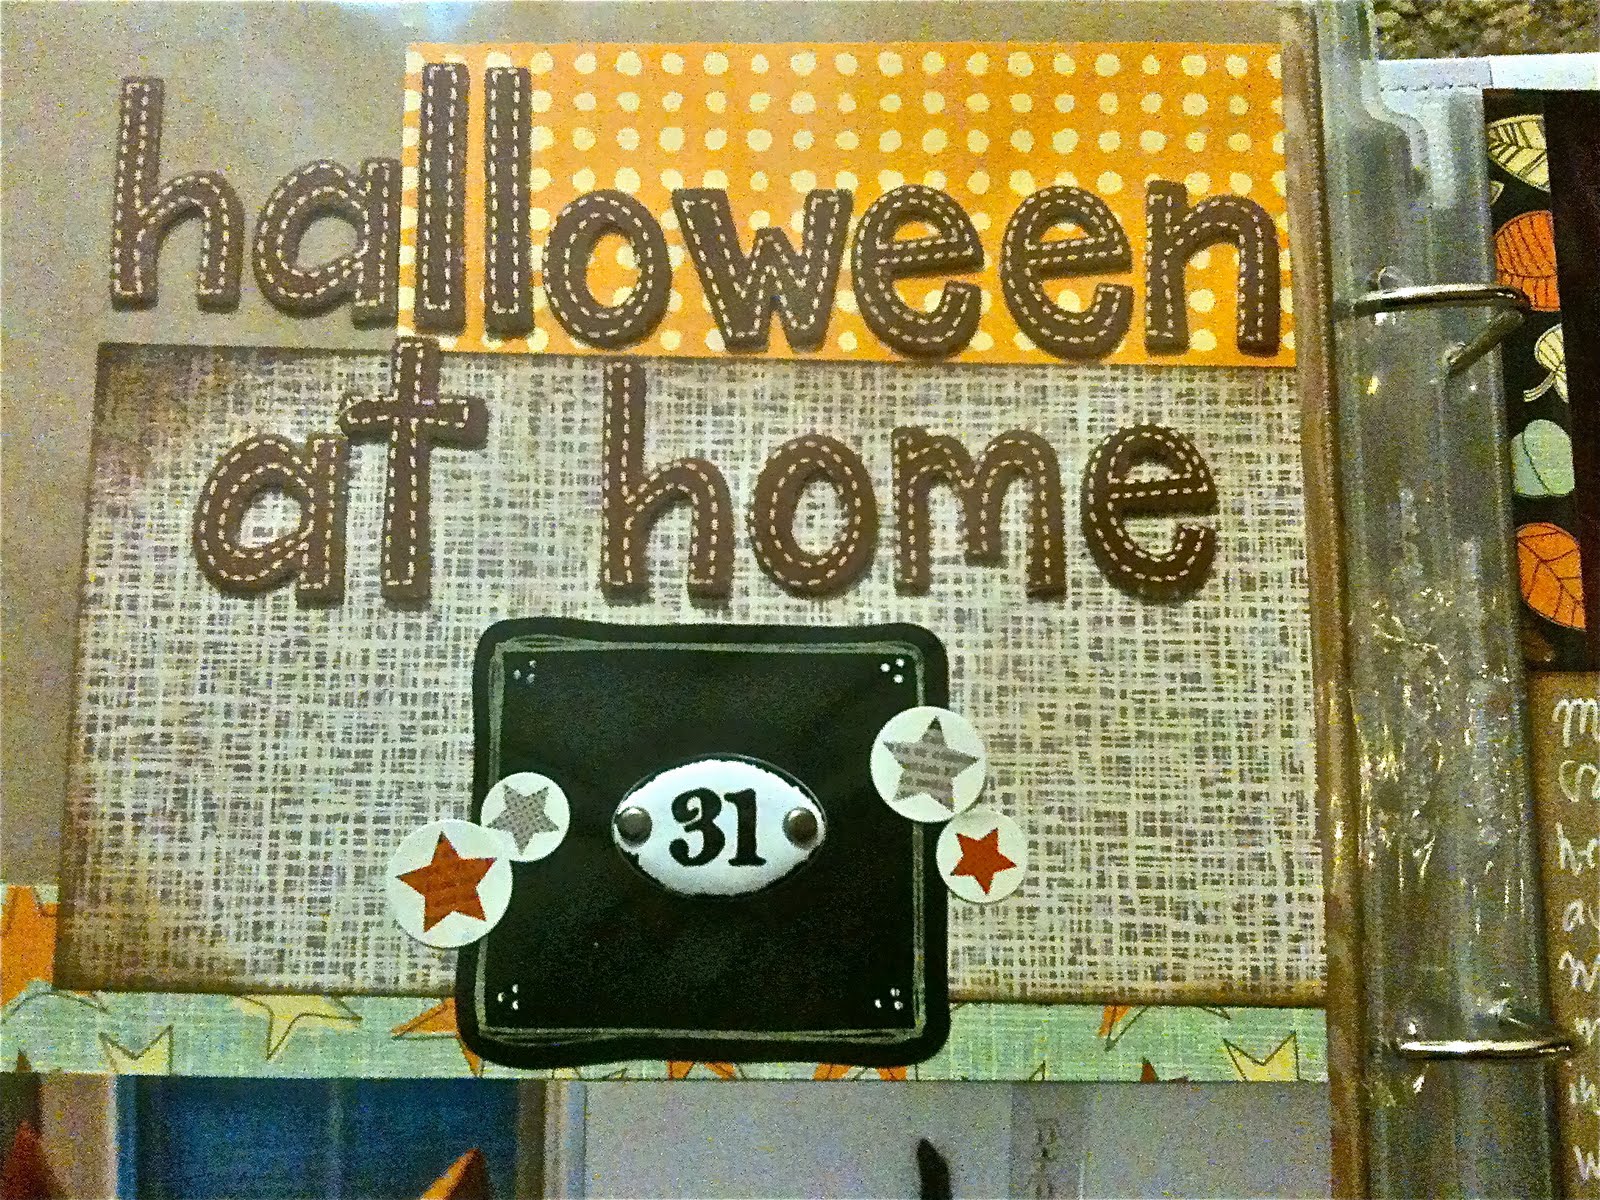
Halloween at Home, 4x6 Photo Love


This is a sketch by Shimelle Laine that uses 11 4x6 photos on one layout. I changed the layout a tad because I had mostly portrait photos. All the photos on this layout that were portrait were taken with my iPhone. When I use my iPhone for pictures I tend to take more portrait photos than landscape, mainly because it can be a little awkward to hold the phone in the landscape position. However, if I use my regular camera they almost always end up landscape, funny yea? It was a little difficult to photograph this layout for the blog simply because it was interactive with that center half page that held six 4x6 photos. I felt I needed to photograph them in my album to get the full effect.

I used some different fall papers and Tim Holtz's autumn distress inks. I also got the chance to finally use the American Crafts' Nightfall chalk board stickers. Basically they're just black cardstock stickers, but they look a lot like chalkboards. I used a white gel ink pen on them and I love the way they turned out! I also used a Tim Holtz "31" Plaquette that I had been hoarding for a Halloween page. The scalloped edge at the bottom is from Martha Stewart, it's her Scallop Dot edge punch. The patches are from American Crafts and the stickers are from Echo Park. I basically hoard anything that has a black cat on it because I love them so much. So I put as much black cat goodness on this layout as I could! I'll put some more close up pictures below .....


Thanks so much for stopping by! If you have any questions please don't hesitate to ask!

Inky and glittery fingers for all!
-Gaby

Sunday, November 20, 2011

Shimelle Laine Sketch featuring my niece, Savannah.


What really intrigued me about this sketch was the circle element. I had hoards of pink buttons just waiting to be used on pages for Savannah. I also love to buy die cut cardstock that has boarders ...of course I never know what to do with them. I really liked Shimelle's idea of breaking them up and making boxes. So here's what I came up with.


Pin It
I sewed each. and. every. one. of those buttons! Worth it I think. I love how it frame's Savannah's new born picture.

Pin It

There's a small boarder sticker from Studio Calico on the bottom. Layered on top is a tag I cut down that I got from a Studio Calico kit that's by Amy Tangerine. I stamped Savannah's birth date on a Jenni Bowin Ticket with a Smash date stamp. Everything's edges are inked in Tim Holtz's new winter ink stamp pad release in the color of Iced Spruce. I love it so much that I've been cheating on Vintage Photo with it lately. Shhh! Don't tell!

Thanks so much for having a looksie at my blog.

Inky and glitter fingers for all!
-Gaby

Saturday, November 12, 2011

Favorite Christmas Layout


Shimelle Laine asked her blog followers to post our favorite Christmas project that wasn't new. This is an older page that I made to scrap our Christmas card. I've only been scrapping for two years so I didn't have much to choose from, but this is definitely my favorite.

Thanks so much for stopping by!

Inky and glittery fingers for all!
-Gaby

4x6 Photo Love, October

Pin It
Pin It
This month for Shimelle's 4x6 Photo Love class she had us use page protectors that were divided. I used one that came with my Doodlebug album that has three divided 4x6 landscape slots and one large slot that is 6x6 inches. Since I print my pictures as digital prints my photos are a smidge smaller than 4x6. Therefor I matted the landscape photos before placing them in the slots. For the four portrait photos I placed them on a 6x6 piece of woodgrain cardstock and highlighted it with a strip of forest creature cardstock I bought ages ago because the fox on it reminded me of my dog. I'm glad I finally got to use it!

Pin It
Pin It
Pin It
Pin It
All the little critters on the landscape photos are from three sets of Lawn Fawn stamps. I stamped them in momento ink, Copic colored them, cut and paper pieced here and there. The three Lawn Fawn sets I used were Critters in the Forest, Critters in the Burbs, and Bannerific.

Thanks so much for stopping by and thank you everyone who leaves comments, you're all so sweet!

Inky and glittery fingers for all!
-Gaby

Friday, October 28, 2011

4x6 Photo Love, September

Photobucket
Pin It

This month for Shimelle's 4x6 Photo Love class she had us do a pocket with two strips of paper that had two photos on each side of the strips totaling eight photos with one last photo on the front of the pocket. She used tabs on the tops of the strips to make it interactive, so that the viewer of the scrapbook could pull out the strips easily for viewing.

First thing I did was cut a Hambly woodgrain overlay in half and sew it to the plaid paper. I didn't sew it completely up the sides. I left about a half an inch of room so I could attach some Mixed Tape in woodgrain from Amy Tangerine to define the pocket.

Photobucket


I chose to use a piece of grosgrain ribbon stapled into place and attached snow flake die cuts from a Tim Holtz Bigz die covered in diamond stickles to hide the staples.

Photobucket


I also die cut some brackets to frame the title and added a three snowflakes.

Photobucket

Photobucket

Photobucket

Photobucket


And here's the two strips back and front.
Thanks so much for stopping by and having a looksie! :)

Inky and glittery fingers for all,
-Gaby

As a girl from Hawaii, I still get super excited when it snows here in coastal NC. :) Sure it melts within 24 hours, but it's super fun and Roxy the shiba inu loves snow so much, Pluto the kitty ...not so much! ;)

ETA: Winner of September's 4x6 Photo Love class challenge at Two Peas in a Bucket! :)

Saturday, September 3, 2011

4x6 Photo Love, August.


Every month in 2011 on the 30th Shimelle Laine does a free class that uses 4x6 photos. Each month you add another 4x6 photo to the layouts. For example, in January we had one 4x6 photo on the layout and for August's layout we had eight. This is my layout for her challenge for August 30th's class which consisted of eight photos. My husband and I took a road trip down to Charleston, SC and this layout is from the day we spent at Boone Hall Plantation.

Here's the sketch. Basically it's one 12x12 page and two smaller pages (about two thirds smaller than a 12x12 depending on your positioning on your larger page), the smaller pages act as an interactive flap that works with your large page. It's best to sew the smaller page protector to the 12x12 along the binding. This was the first time I've sewn since home ech in intermediate school, so I was pretty nervous! I picked up a small sewing machine at a garage sale last month and I thought I would dive in and try it out. I practiced a little on some spare cloth and then just went for it. Luckily it went well! yay!


Pin It
Here's the layout all tucked into the sewn page protector with the smaller paper resting on top of the 12x12 page. I really like how it turned out! Shimelle is awesome!


Pin It
And this shows how it looks when the smaller page is open. Cute, yea?


Pin It
The front of the smaller page with my adorable husband playing along with my nonsense for me. I asked him if he could grab the fence ala Ryan Gossling from "The Notebook". He loves me, he does. ;)


Pin It
The back of the smaller page with a pretty opening of some trees down a road the tractor uses to get to the farms which are still in use today and a shot of the only member of the Boone family buried on the plantation. He was the son of Col. Boone that planted the avenue of oaks. They take 100 years to form and the son wanted to be buried by them to watch over the trees he planted.


Pin It
The 12x12 page by itself. This has photos of the Boone Hall home, the front porch (Where they filmed "The Notebook", "Queen", and "North & South"), the original slave cabins from the 1700's, and the gorgeous Avenue of Oaks. Some pretty with some history that shouldn't be forgotten.


Pin It
I used my Amy Tangerine stamp set finally, yay! I stamped the camera from the set on green vinyl ribbon with brown StayzOn ink, cut and placed on some kraft cardstock, then inked the edges with Tim Holtz's distress ink in vintage photo. Stamped it again on some kraft and cut out the heart only. Then inked the edges again and paper pieced it to the camera. I thought this added a nice touch as the Avenue of Oaks is one of the most photographed driveways in the world.


Pin It
I also did the same technique to the camera from Lawn Fawn's say cheese two set and adhered it to an Ormolu button to match the woodgrain camera button of theirs I used.

Thanks so much for stopping by and looking at my projects, I really appreciate it!

Inky and glittery fingers for all!
Gaby