Showing posts with label 4x6 Photos. Show all posts
Thursday, December 22, 2011
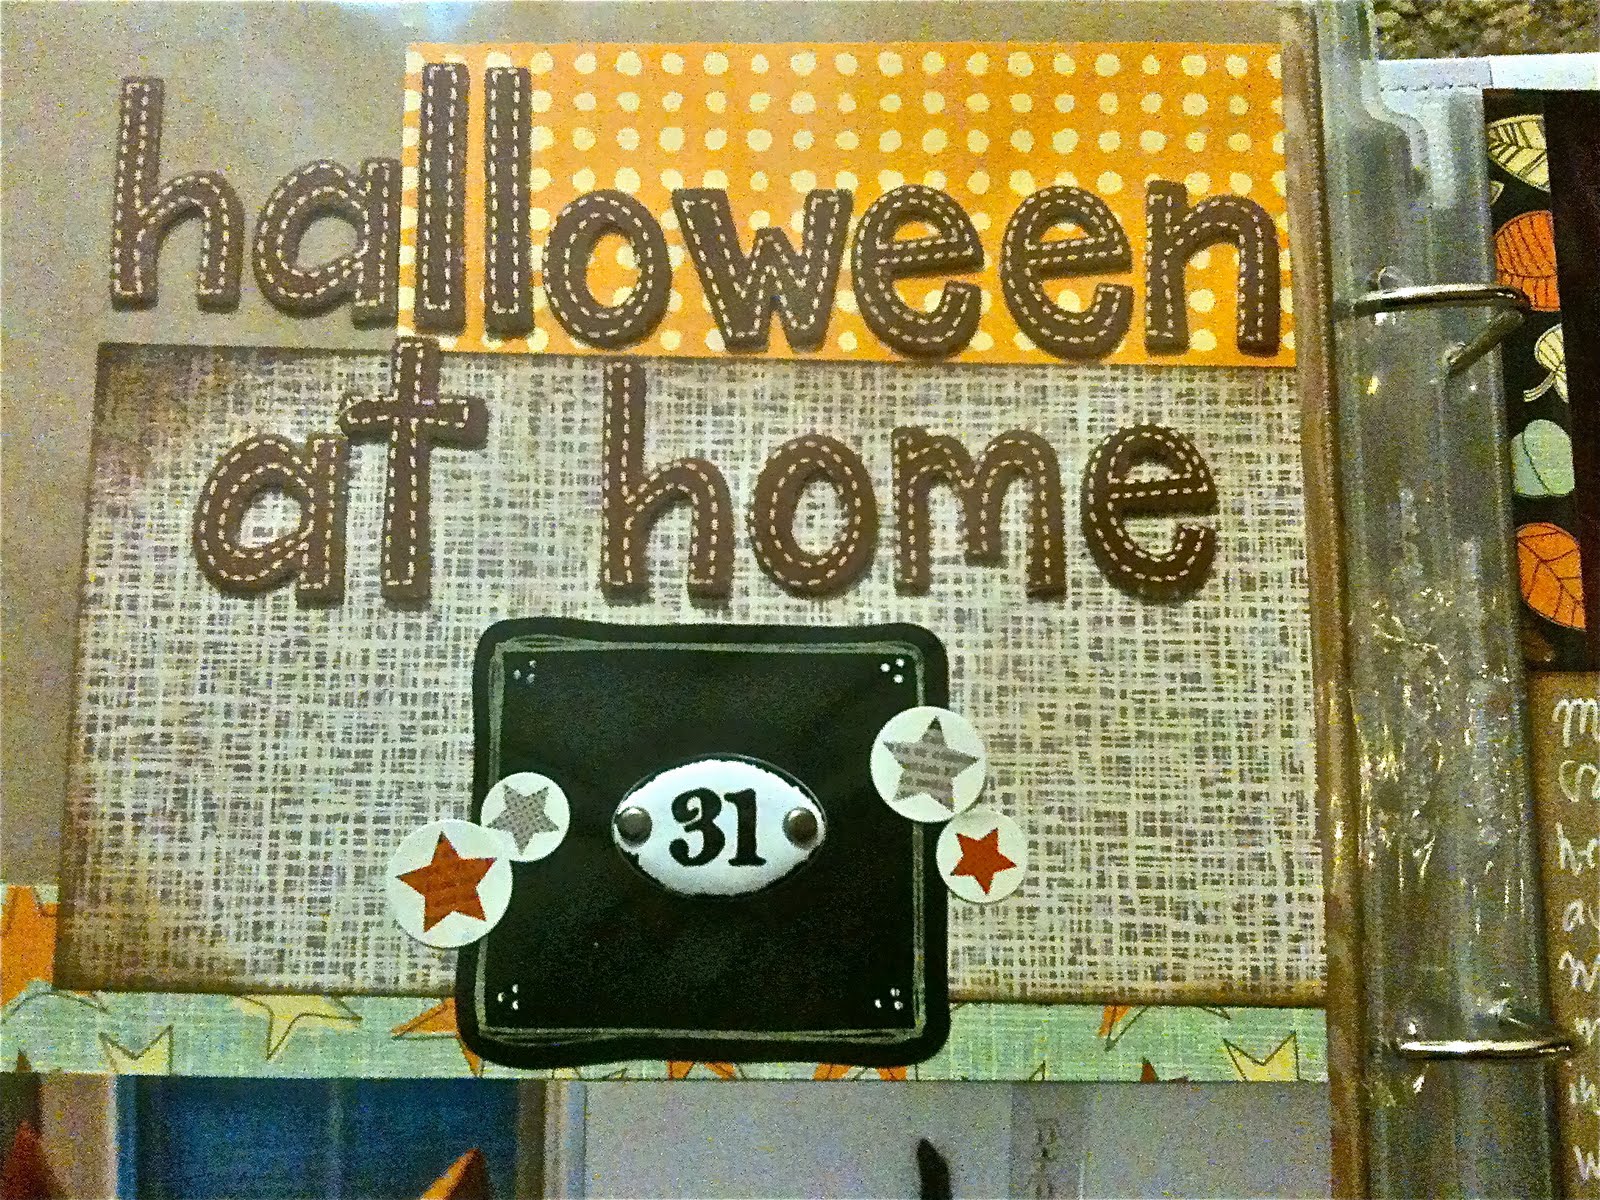
Halloween at Home, 4x6 Photo Love
This is a sketch by Shimelle Laine that uses 11 4x6 photos on one layout. I changed the layout a tad because I had mostly portrait photos. All the photos on this layout that were portrait were taken with my iPhone. When I use my iPhone for pictures I tend to take more portrait photos than landscape, mainly because it can be a little awkward to hold the phone in the landscape position. However, if I use my regular camera they almost always end up landscape, funny yea? It was a little difficult to photograph this layout for the blog simply because it was interactive with that center half page that held six 4x6 photos. I felt I needed to photograph them in my album to get the full effect.
I used some different fall papers and Tim Holtz's autumn distress inks. I also got the chance to finally use the American Crafts' Nightfall chalk board stickers. Basically they're just black cardstock stickers, but they look a lot like chalkboards. I used a white gel ink pen on them and I love the way they turned out! I also used a Tim Holtz "31" Plaquette that I had been hoarding for a Halloween page. The scalloped edge at the bottom is from Martha Stewart, it's her Scallop Dot edge punch. The patches are from American Crafts and the stickers are from Echo Park. I basically hoard anything that has a black cat on it because I love them so much. So I put as much black cat goodness on this layout as I could! I'll put some more close up pictures below .....
Thanks so much for stopping by! If you have any questions please don't hesitate to ask!
Inky and glittery fingers for all!
-Gaby
Monday, December 19, 2011
Three 4x6 Photos
For this page I used Bo Bunny papers, Acrylic paint spatters, ribbon, and SRM stickers. By putting stars, gold paint splatters and the Washington DC stickers from SRM I feel even though the colors are not the norm, you can still see the patriotic feel.
Thanks so much for dropping by!
Inky and glittery fingers for all!
-Gaby
Saturday, November 12, 2011
4x6 Photo Love, October
Thanks so much for stopping by and thank you everyone who leaves comments, you're all so sweet!
Inky and glittery fingers for all!
-Gaby
Friday, October 28, 2011
4x6 Photo Love, September
This month for Shimelle's 4x6 Photo Love class she had us do a pocket with two strips of paper that had two photos on each side of the strips totaling eight photos with one last photo on the front of the pocket. She used tabs on the tops of the strips to make it interactive, so that the viewer of the scrapbook could pull out the strips easily for viewing.
First thing I did was cut a Hambly woodgrain overlay in half and sew it to the plaid paper. I didn't sew it completely up the sides. I left about a half an inch of room so I could attach some Mixed Tape in woodgrain from Amy Tangerine to define the pocket.
I chose to use a piece of grosgrain ribbon stapled into place and attached snow flake die cuts from a Tim Holtz Bigz die covered in diamond stickles to hide the staples.
I also die cut some brackets to frame the title and added a three snowflakes.
And here's the two strips back and front.
Thanks so much for stopping by and having a looksie! :)
Inky and glittery fingers for all,
-Gaby
As a girl from Hawaii, I still get super excited when it snows here in coastal NC. :) Sure it melts within 24 hours, but it's super fun and Roxy the shiba inu loves snow so much, Pluto the kitty ...not so much! ;)
ETA: Winner of September's 4x6 Photo Love class challenge at Two Peas in a Bucket! :)
Saturday, September 3, 2011
4x6 Photo Love, August.
Every month in 2011 on the 30th Shimelle Laine does a free class that uses 4x6 photos. Each month you add another 4x6 photo to the layouts. For example, in January we had one 4x6 photo on the layout and for August's layout we had eight. This is my layout for her challenge for August 30th's class which consisted of eight photos. My husband and I took a road trip down to Charleston, SC and this layout is from the day we spent at Boone Hall Plantation.
Here's the sketch. Basically it's one 12x12 page and two smaller pages (about two thirds smaller than a 12x12 depending on your positioning on your larger page), the smaller pages act as an interactive flap that works with your large page. It's best to sew the smaller page protector to the 12x12 along the binding. This was the first time I've sewn since home ech in intermediate school, so I was pretty nervous! I picked up a small sewing machine at a garage sale last month and I thought I would dive in and try it out. I practiced a little on some spare cloth and then just went for it. Luckily it went well! yay!
Thanks so much for stopping by and looking at my projects, I really appreciate it!
Inky and glittery fingers for all!
Gaby
Friday, August 5, 2011
Summer double page layout featuring rub ons.
I love Two Peas in a Bucket. It's so much more than an online scrap store. They have free classes and tutorials, challenges, members share their projects, there's a forum. Just heaps of fun for any paper crafter!
Each month there's different free classes. I did this layout for the "Products you Love Every Which Way" class which started on July 10th and will end on August 10th that featured rub ons. I'm typically not a fan of rub ons. I always get scared when rubbing them on with the included popsicle stick that I'll miss a part, causing it not to stick all the way and ruin the whole thing. I see rub ons like makeup application. My mom always said to blend your foundation till you think it's perfect, then keep blending more. Only then will it be properly applied and look natural on your face. As with the rub ons, I keep rubbing till I feel it's fully adhered, but then rub more to make sure it really is fully adhered.
These pictures were from a trip down to Myrtle Beach, SC to visit my husband's family while they were on vacation. It was an extra special trip just to finally meet our nephew Max! So this page is heavy on the Max pictures and not so much on the beach. :)
I used Kraft cardstock as my background. I've been using it on almost all my layouts and on a lot of cards, too. I just think it's so pretty, the way it's raw and uncolored. Plus it's awesome because it's made out of recycled paper. On top of the Kraft I put another layer of Kraft that had a black design printed on top of it. I cut an inch off of two sides of my paper and adhered it to the center of the plain Kraft cardstock. The next thing I did was matte all my pictures with Doodlebug's petite prints cardstock in five different colors. This helped bring the Carolina beachy feel to the LO and also matched the slipper (flip flops as most call them) pattern I used in blocks at the bottoms of both pages. All the edges of the papers besides the bottom most Kraft card stock were inked with Stamp'n Up's Calypso Coral. This helped tie all the papers together.
When all the papers were in place is when I adhered my pictures. I didn't really have room for too much of a title, but since the trip was really about seeing Max and I needed to add rub ons for the challenge, I did the title like I did. I cut out a piece of paper from a 6x6 paper pack I won a long time ago in a raffle. The paper had lines on it which made it perfect for adhering my "hello" lagoon rub ons from KI. I also used a friskars punch to punch out the top of the paper to make it look as if it were torn out of a notebook. I edged the paper in Tim Holtz's Vintage Photo Distressing ink and added one of Tim's mini paper clips to the top. I then added the blue Thickers letters to spell out Max! and lastly tied a hemp twine bow around the bottom. I adhered it very loosely so that it wasn't so flat and looked more like it was just hanging there slightly tucked into the slipper paper.
For embellishments I used Doodlebug boutique buttons, October Afternoon's Seaside stickers, American Craft tags, and Studio Calico cloud rub ons. I sewed the buttons on in groups of three with cream colored embroidery floss. I rubbed the cloud rub ons on the top of the second page as I needed more rub ons for this challenge. Plus well, I really like clouds. :) The round October Afternoon stickers were layered onto circles I had punched from the same Doodlebug petite prints paper I used before and adhered them to the page with foam adhesives. And of course, I lightly edged the doodlebug circles with Calypso Cooler ink. The tags I stamped Family Vacation on one with Ali Edward's Awesome Days of Summer stamp set and on the other tag I stamped July 2011 with Ali Edward's A Date with Ali stamps. Then edged the tags with that same Calypso Cooler ink to make them match everything. I later went back and outlined the tag that had the date on it with an orange Copic marker because I felt it wasn't popping enough. Then I looped a piece of hemp twine and tied a bow through the tag that had the date on it. I placed the tag that had "family vacation" stamped on it horizontally and the one with the date and hemp vertically with foam adhesives. After I just went through and added a couple word stickers. I especially liked the one that had an Erma Bombeck quote that read, "We hit the sunny beaches where we occupy ourselves keeping the sun off our skin, the saltwater off our bodies, and the sand out of our belongings." That pretty much described our whole time on the beach. :)
Thank you so much for dropping by and reading this super long post! If only there were virtual cookies, I'd be sure to give you one!
Inky and glittery fingers for all!
-Gaby
Subscribe to:
Posts (Atom)


