Saturday, October 29, 2011

Mixing different letter stickers/thickers on a layout.

Pin It

Photobucket
Pin It

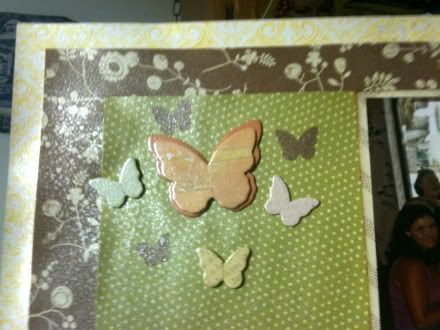
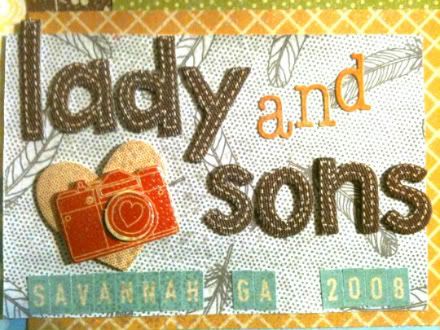
Two Peas is having an event called, 14 Days of Tricks and Treats. Each day they come up with a different "trick" to use in paper crafting and award a treat to one of the Peas who comment on the daily posts. For day 11 they asked you to mix up your title by using different stickers and thickers rather than just using one type. On this layout I used some Amy Tangerine thickers, October afternoon rocket age letter stickers, and some Sassafras letter stickers from a past Studio Calico kit. This is a great technique to use when you're running low on letters from different sets.
Photobucket
Pin It
Photobucket
Pin It

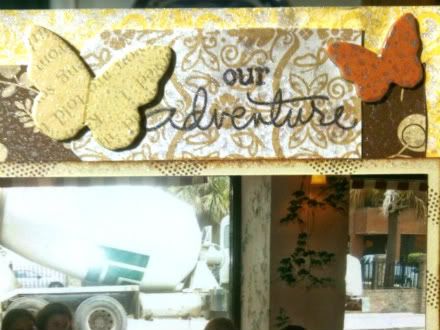
For the overall layout, I just cut a bunch of random papers, journaled and stamped on two tags, and attached some Studio Calico chipboard butterflies. The super cute orange heart and camera sticker by the title is from Amy Tangerine for American Crafts. After everything was adhered I masked off the pictures and misted the whole page with Perfect Pearls mist.

Thanks so much for stopping by and checking out my blog post!

Inky and glittery fingers for all!
-Gaby

Friday, October 28, 2011

4x6 Photo Love, September

Photobucket
Pin It

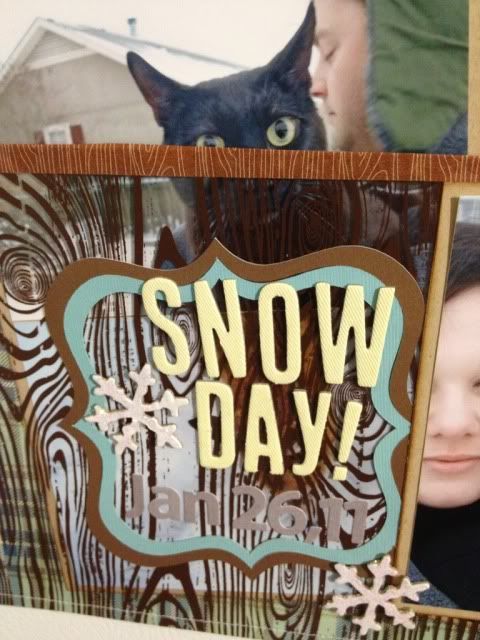
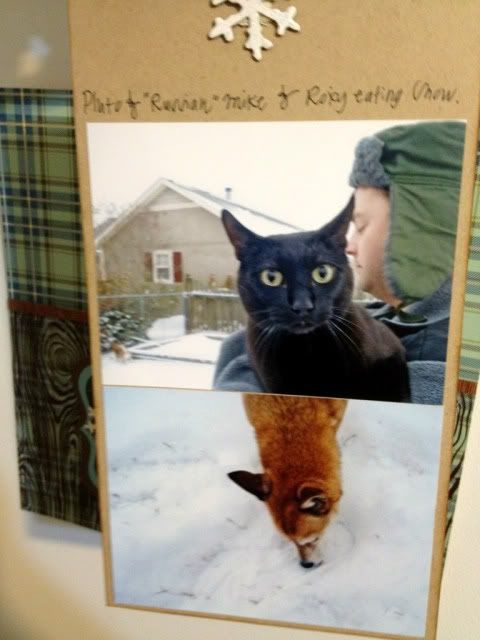
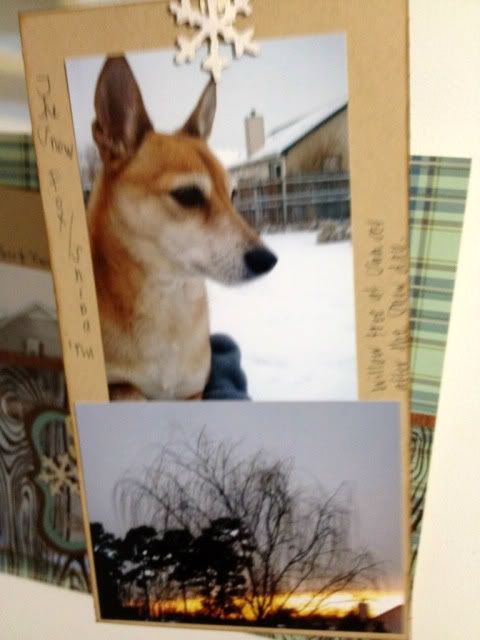
This month for Shimelle's 4x6 Photo Love class she had us do a pocket with two strips of paper that had two photos on each side of the strips totaling eight photos with one last photo on the front of the pocket. She used tabs on the tops of the strips to make it interactive, so that the viewer of the scrapbook could pull out the strips easily for viewing.

First thing I did was cut a Hambly woodgrain overlay in half and sew it to the plaid paper. I didn't sew it completely up the sides. I left about a half an inch of room so I could attach some Mixed Tape in woodgrain from Amy Tangerine to define the pocket.

Photobucket


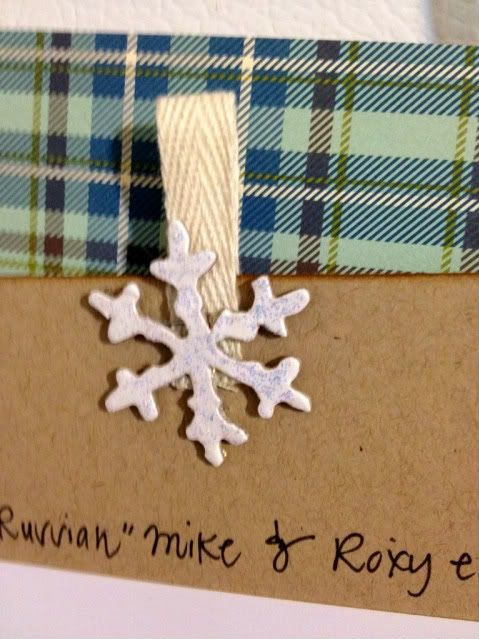
I chose to use a piece of grosgrain ribbon stapled into place and attached snow flake die cuts from a Tim Holtz Bigz die covered in diamond stickles to hide the staples.

Photobucket


I also die cut some brackets to frame the title and added a three snowflakes.

Photobucket

Photobucket

Photobucket

Photobucket


And here's the two strips back and front.
Thanks so much for stopping by and having a looksie! :)

Inky and glittery fingers for all,
-Gaby

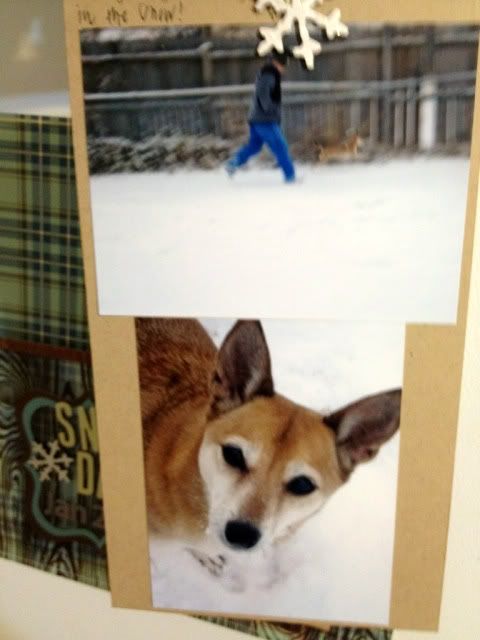
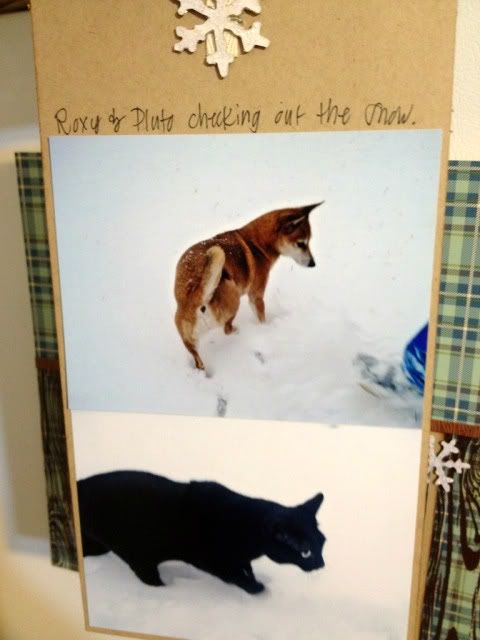
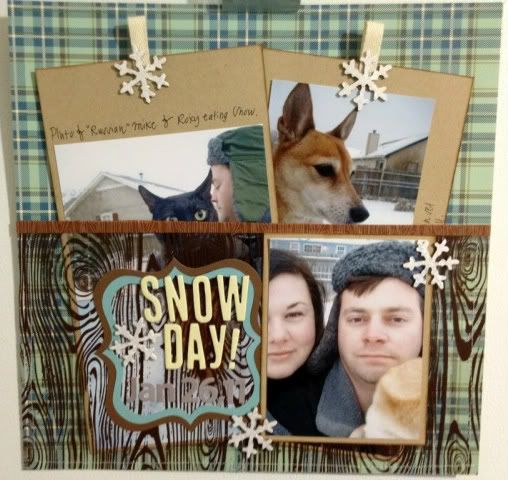
As a girl from Hawaii, I still get super excited when it snows here in coastal NC. :) Sure it melts within 24 hours, but it's super fun and Roxy the shiba inu loves snow so much, Pluto the kitty ...not so much! ;)

ETA: Winner of September's 4x6 Photo Love class challenge at Two Peas in a Bucket! :)

Wednesday, October 26, 2011

Lawnscaping Challenge, Paper Piecing ...received the award of Honorable Gnome!

Pin It

It's time for another Lawnscaping challenge! It's their 20th challenge and this one is to use paper piecing on a project. I'm really excited as I thought I had missed my chance to enter, but I didn't! I'm getting this in just under the wire as it's due today. Whew!

I was inspired by this card by Yainea. I die cut a circle in the American Craft's night sky paper and placed it over a moon I drew with Copics. I then die cut a tree from my Cindy Loo cartridge from my Cricut, once with the kraft paper and once with the Hambly woodgrain overlay. Edged the kraft die cut with Tim Holtz's Vintage Photo and adhered it to the overlay with Glossy Accents adhesive and adhered it to the card. I stamped and colored in the owl from Lawn Fawn's Critters in the forest on Kraft and cut it out. Then I stamped the witches hat from Lawn Fawn's Hats Off to You and adhered it to the Owl's head. Then paper pieced the witch owl with foam adhesives to the tree. For the sentiment I cut a strip of vellum and stamped it with Lawn Fawn's Happy Haunting stamp set's "Have a Spooktacular Halloween" with a white paint dabber as the ink. I folded the left over edges around the back and adhered it that way so you couldn't see adhesive through the vellum. I also wrapped some of Doodlebug's Halloween twine around the top and bottom of the vellum to secure it a little more. The last stamps I used were the little bats from the same Happy Haunting set to make the moon look a lil spooky. Lastly I cut and pieced some clouds from the AC's cardstock and paper pieced them with more foam adhesives and added a couple of bling bits here and there.

Thanks so much for stopping by! I hope you and your family have a super "spooktacular" Halloween!

Inky and glittery fingers for all!
-Gaby

This card won Honorable Gnome for Lawnscaping challenge #20!! It was also featured on the Lawn Fawn Blog for a Fawny Flickr Halloween post.

Thank you so much for all the comments on this post and throughout my blog, they all put huge smiles on my face! :)

Saturday, October 15, 2011

A whole lot of happy in a little brown box


Every month Studio Calico ships out kits for their club. They've been asking us to share pictures of our Studio Calico box, how we unpack them, or what's inside once they start shipping them out. They hand out a $5 off coupon to a randomly selected winner. I'm not going to lie, there's been plenty of pictures of cats in their boxes. However I'm sure none were packed with sheer terror!!! You may need some eagle handling gloves to get this lil kitty out of my Studio Calico box! :)

Inky and glittery fingers for all!
-Gaby
And in case you were wondering ...Pluto does enjoy a lil glitter on his knives ...I mean claws.

Thursday, October 13, 2011

More scrap paper, scrapbook addition.

Pin It


I basically did the same thing as my card project below with the scraps, but changed it up a tad. I wanted them to not lay flat, but more ruffled up for a free flowing look as we were on the beach. Instead of sewing around the edge I applied some of Amy Tangerine's mixed tape in a woodgrain pattern.

Pin It


I really wanted to use the Ormalu tin badge that reads, "leave only footprints" on this layout. I thought it would be perfect for these two pictures. I don't normally take pictures of feet, but I was bored and we were standing waiting for our friend's reception to start. While they were taking their official vow renewal pictures, I just snapped a few and wrote our names in the sand. Don't worry, it was far enough away not to steal the bride's thunder. ;) I layered the tin badge on top of a sticker from Amy Tangerine's sticker book and adhered it to the center of the page.

Thanks so much for dropping by!

Inky and glittery fingers for all!
-Gaby