Showing posts with label Glitter. Show all posts

Sunday, December 23, 2012

Lawn Fawn: Make It Shine, again!

I thought since I still had some time left, I'd have one more go at the current Lawnscaping challenge. For the main shine of the card I embossed recycled plastic packaging (this one was from some Tim Holtz faucets) in my Cuttlebug with a snowflake embossing folder. Then I made a scene for the penguins by free hand cutting some snow hills and lining the edges with stickles. At the top I tied some twine and added a gem in the center of the bow, and the sentiment flag is also lined in stickles. I apologize for the picture being rather dark, I had to or else the embossing washed out.  

Supply List


Thank you so very much for stopping by my blog today!
Inky and SUPER GLITTERY fingers for all!
-Gaby


Challenges Entered:

And a very Merry Christmas to all those who celebrate from my family to yours! (this is our kitty, Pluto).
*Edited Wednesday 12/26/2012 at 21:54 EST to add Christmas tree light photo from my iPhone for better view of embossed plastic and glitter.

Tuesday, December 18, 2012

Lawnscaping: Make it Shine!

Alright everyone, last Lawnscaping challenge of the year! This should be the last Christmas card I make of the year too, but don't quote me on that!  The challenge is shine, this is when you pull out anything that glimmers, sparkles, or shines ....then you toss them all together ...kidding, sort of!  I wanted to make ornaments, so I used the gnome and added a Santa hat for an instant transformation into Mr. Claus.  Then I used the gingerbread guy (my favorite cookie, btw!) and colored them up with Copics and highlighted accents with stickles.  Set them aside to dry, and adhered them with glossy accents the next morning to fragment charms.  Then I heat embossed pine sprigs with a bunch of different embossing powders that I mixed together before applying.  Then, I distressed/resisted the embossed cardstock with distress ink, glimmer mist, and gold acrylic paint (watered down) over and over again till I got the right look.   I strung the "ornaments" up with my ever trusty burlap twine and attached it to a Kraft card base.  Then I made a flag for my beautiful Merry Christmas sentiment, and distressed it a wee bit more.  The final touch was adding the Tim Holtz tinsle I've had for two months that I couldn't quite figure out what to do with.  I think it added a great final touch of shine to my super shiny card!  I wish I were a better photographer, because half of the shine wouldn't pick up in the photos.  Hrrrmm, maybe that's a good thing?  ha!

 Supply List
Thank you so very much for stopping by my blog today!
Inky and SUPER GLITTERY fingers for all!
-Gaby

Challenges Entered:


Sunday, November 20, 2011

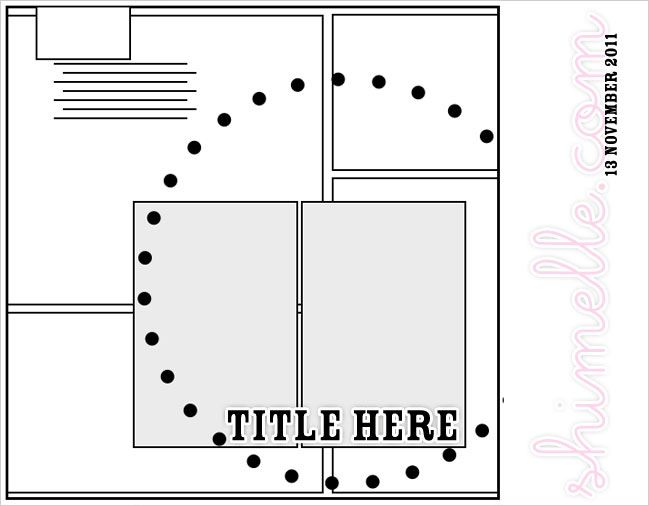
Shimelle Laine Sketch featuring my niece, Savannah.


What really intrigued me about this sketch was the circle element. I had hoards of pink buttons just waiting to be used on pages for Savannah. I also love to buy die cut cardstock that has boarders ...of course I never know what to do with them. I really liked Shimelle's idea of breaking them up and making boxes. So here's what I came up with.


Pin It
I sewed each. and. every. one. of those buttons! Worth it I think. I love how it frame's Savannah's new born picture.

Pin It

There's a small boarder sticker from Studio Calico on the bottom. Layered on top is a tag I cut down that I got from a Studio Calico kit that's by Amy Tangerine. I stamped Savannah's birth date on a Jenni Bowin Ticket with a Smash date stamp. Everything's edges are inked in Tim Holtz's new winter ink stamp pad release in the color of Iced Spruce. I love it so much that I've been cheating on Vintage Photo with it lately. Shhh! Don't tell!

Thanks so much for having a looksie at my blog.

Inky and glitter fingers for all!
-Gaby